 Llumo Help CenterBack to Llumo
Managing Billing Options and API Keys
After your account and instance are created, you’ll first see the billing screen if you did not enter API keys on the startup form. From here, you can choose how you want to be billed or provide your own API keys before proceeding to the main dashboard.
Step 1: Choose a Billing Method
On the initial billing screen, decide how you want to pay for the service.
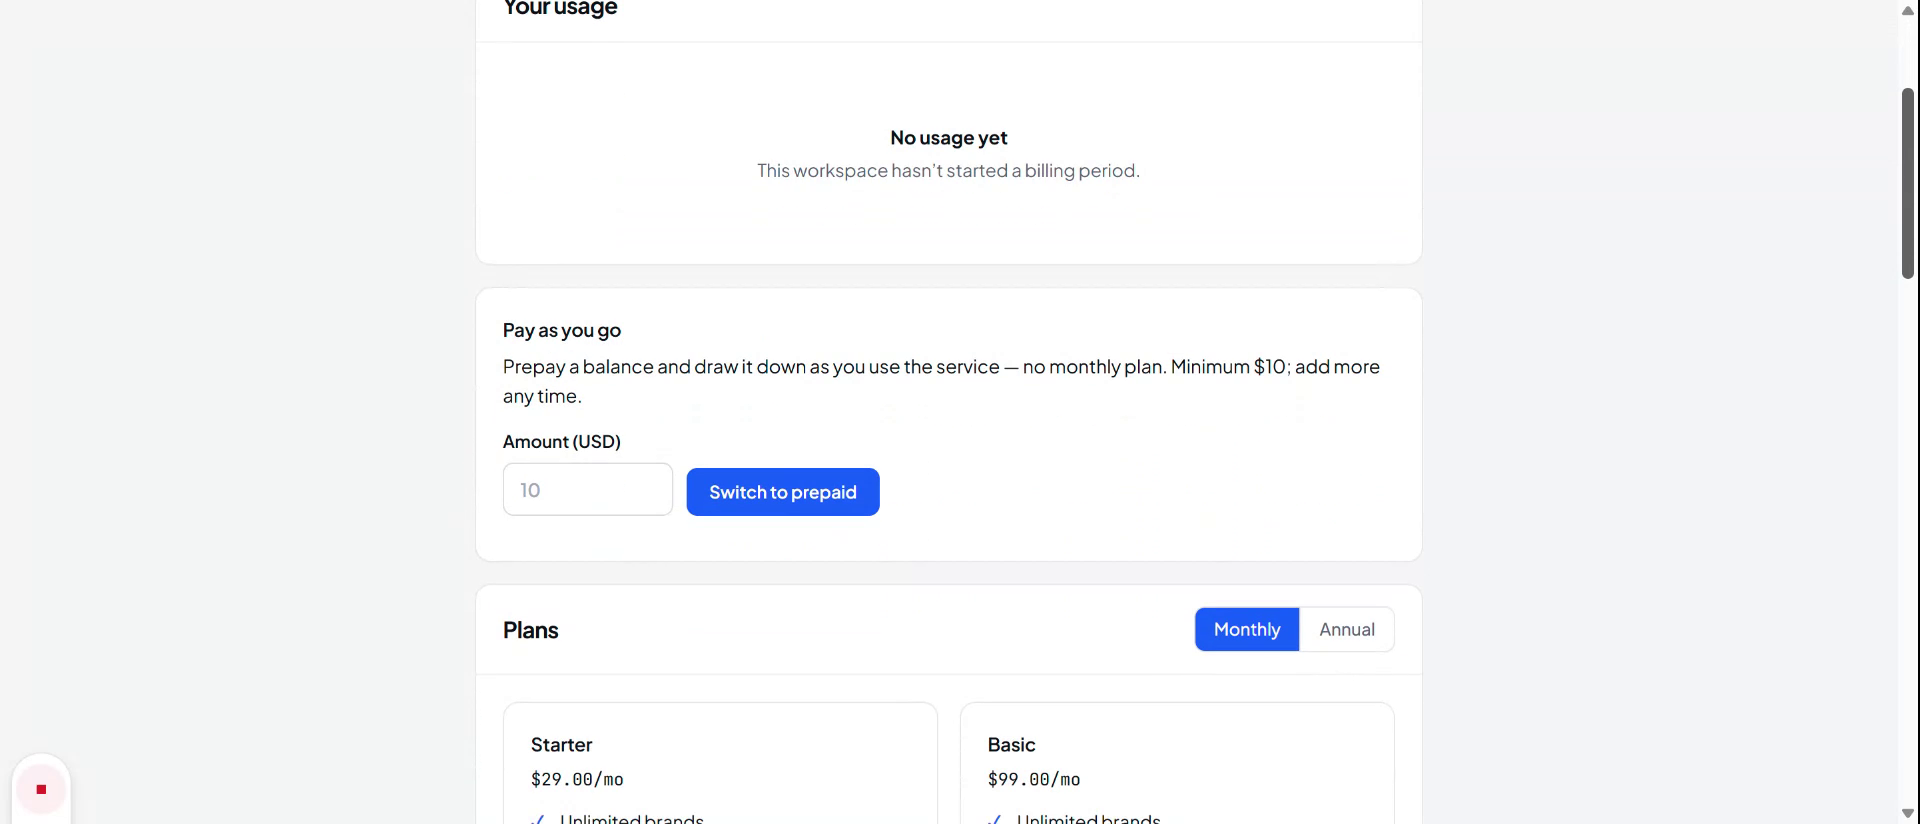
You can either use a pay-as-you-go option or select one of the available paid subscription plans.
Step 2: Enter Your Own API Keys (Optional)
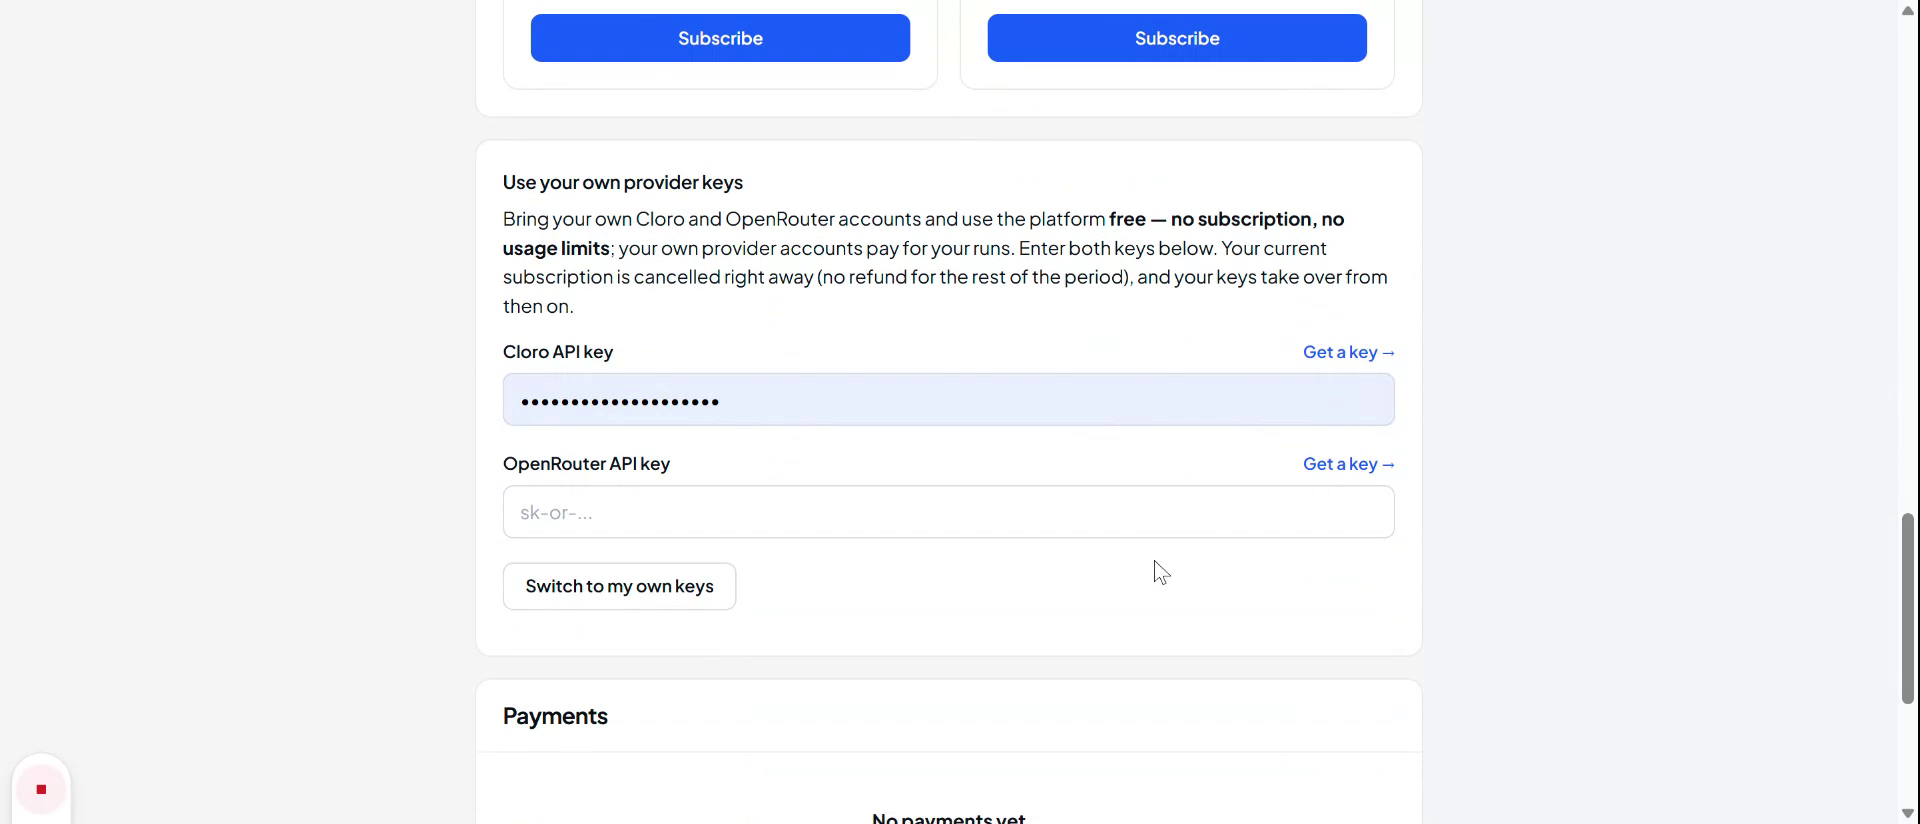
If you prefer to use your own API keys instead of the default billing options, enter your keys in the API key section on the billing screen.
Step 3: Complete Billing Setup and Access the Dashboard
After you have either selected a billing plan or entered your own API keys, confirm your choice to complete the billing setup.
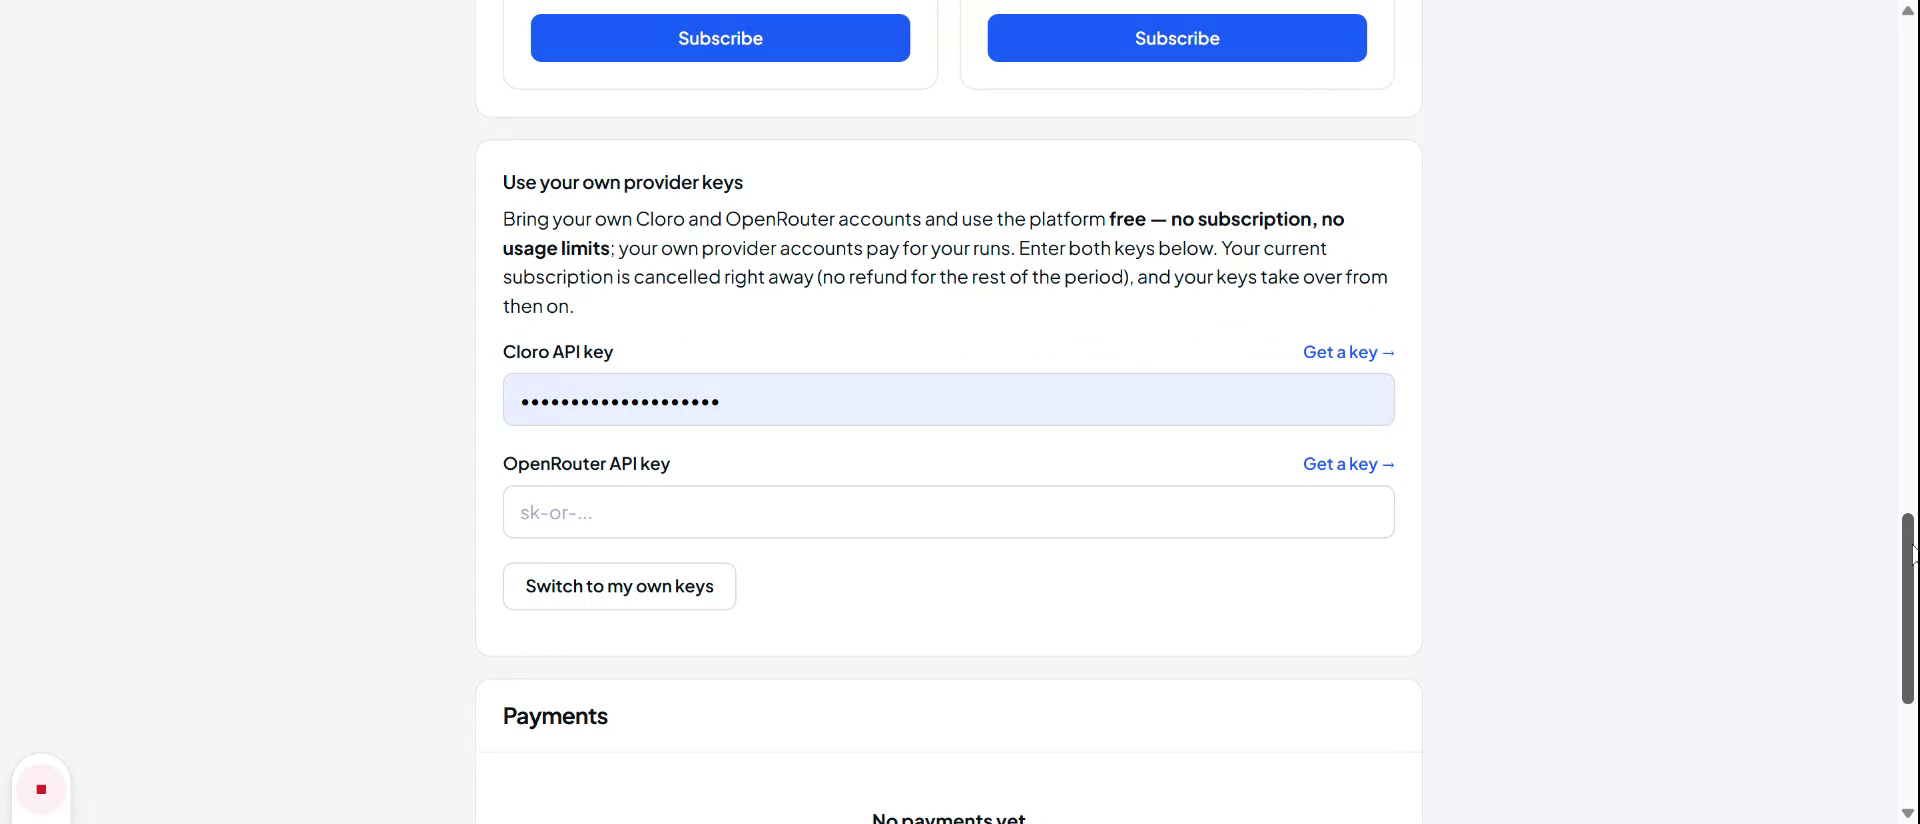
Once this is done, you will be automatically redirected to the main dashboard to begin using the application.