 Llumo Help CenterBack to Llumo
Configuring Brand Prompts
This process explains two ways to configure prompts for brands: directly through the Setup section or automatically when creating a new brand. You can manually add context and tags for your prompts, or let the system generate prompts based on brand analysis.
Step 1: Open the Prompt Configuration in Setup
Navigate to the Setup section of the application.
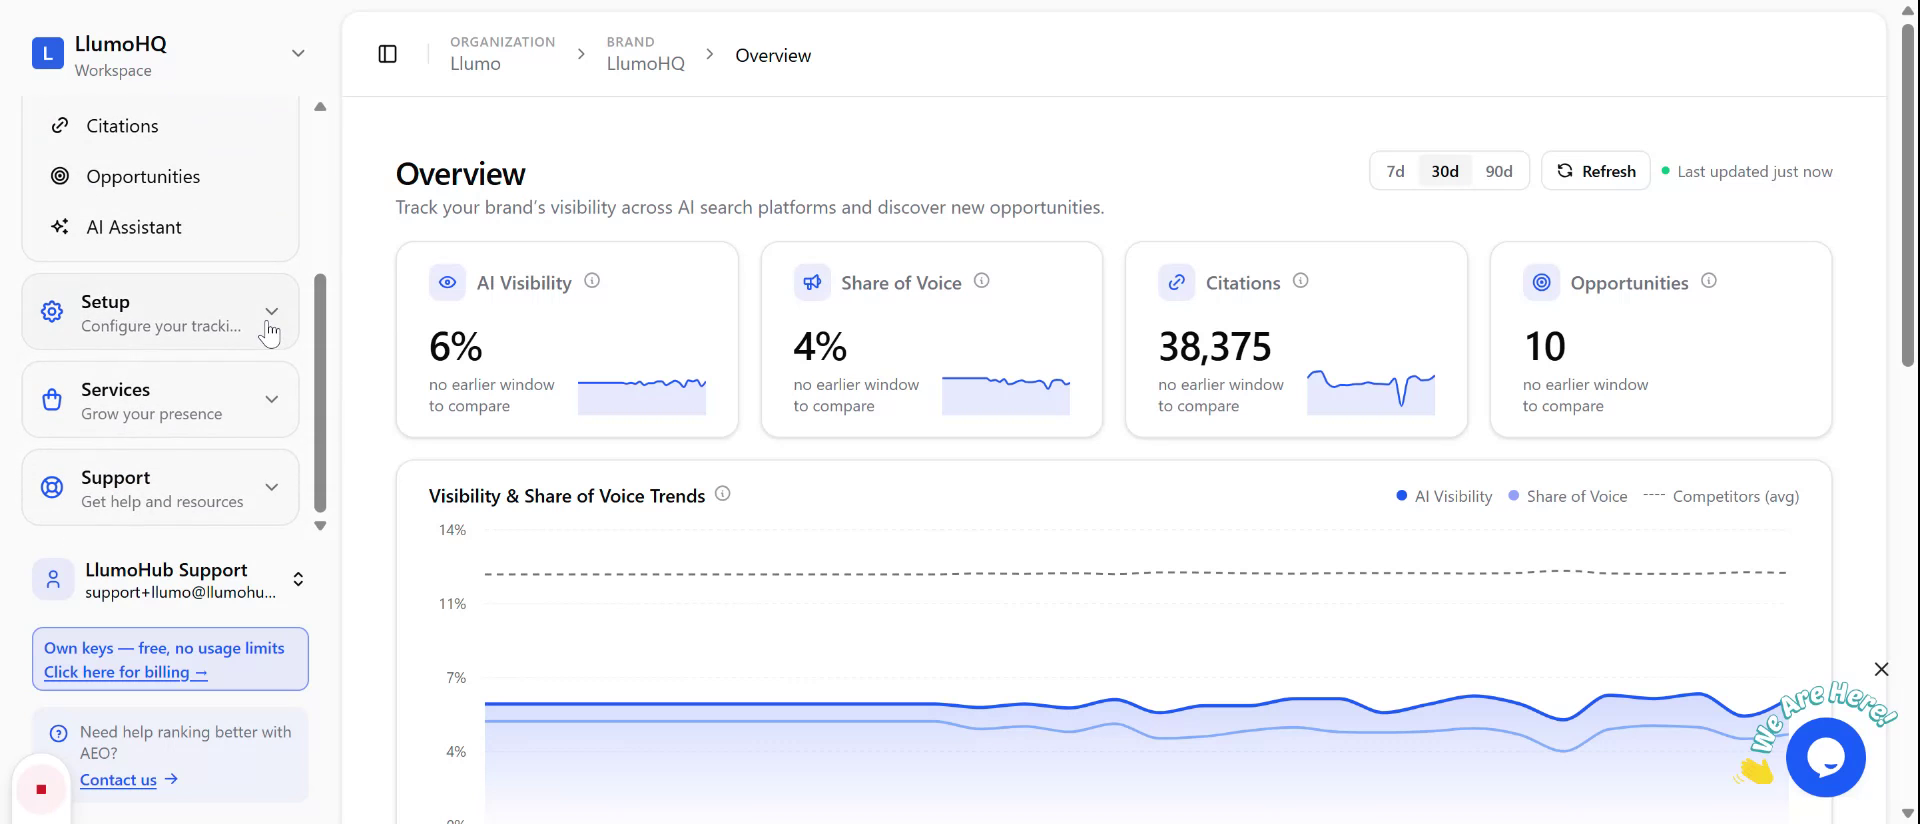
Within Setup, go to the Prompt configuration area.
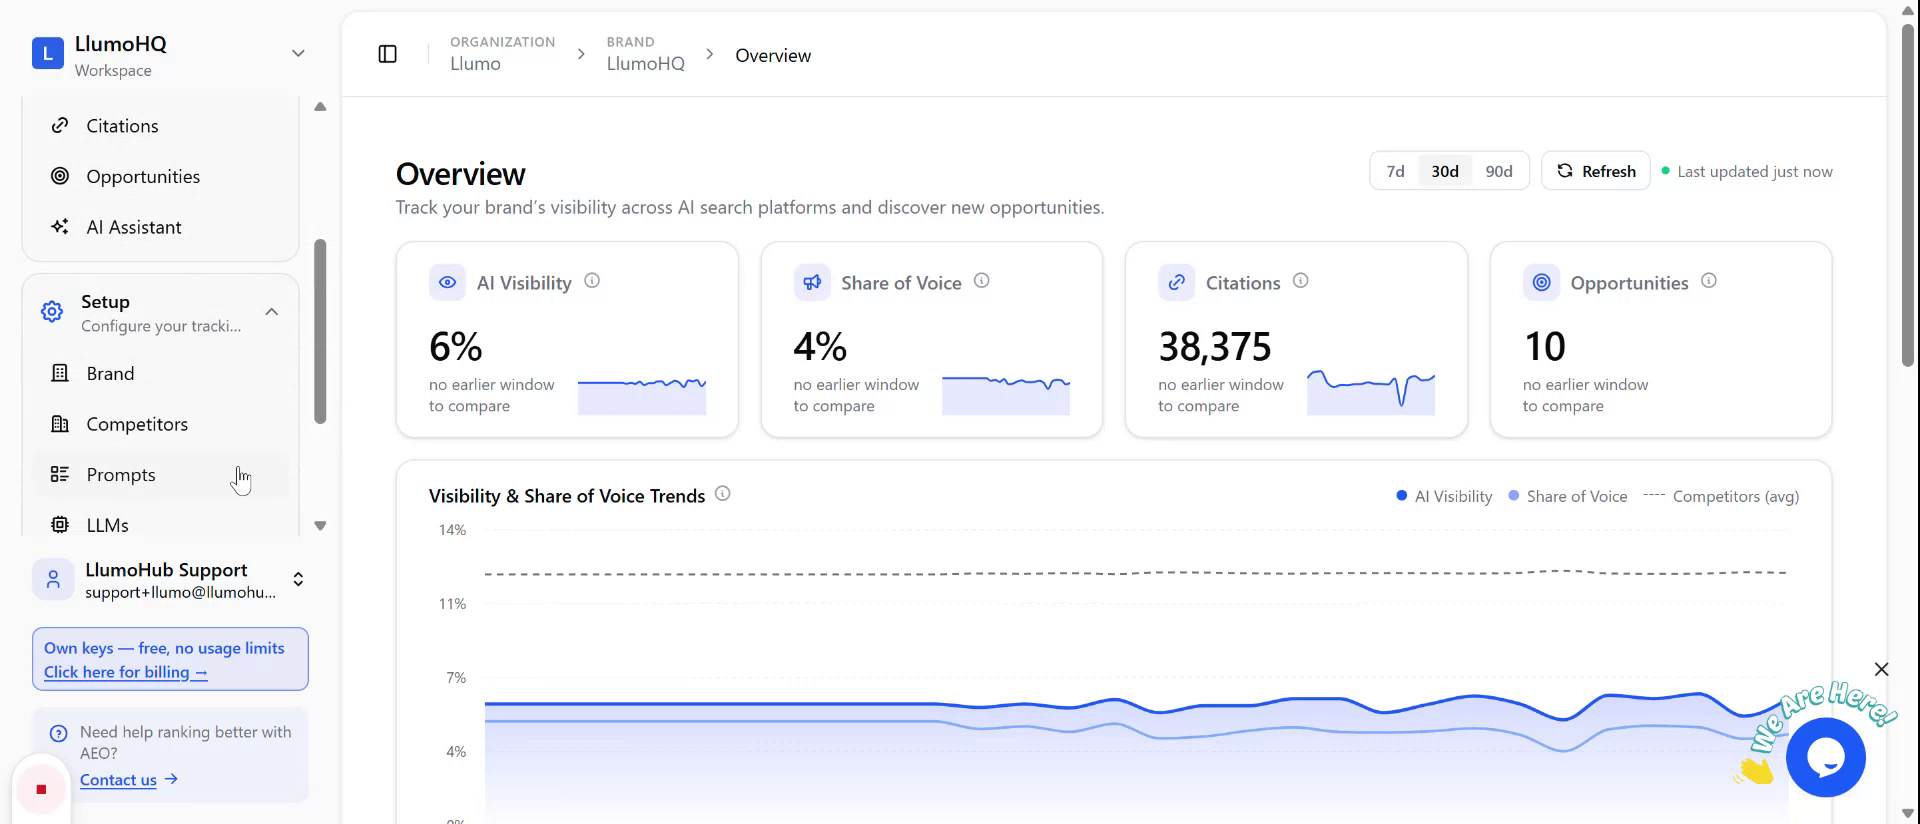
Here, you can add contextual information and define tags for your prompts. The system will automatically cluster prompts into branded and unbranded categories, and you can also add multiple tags as needed.
Step 2: Bulk Paste and Configure Prompts
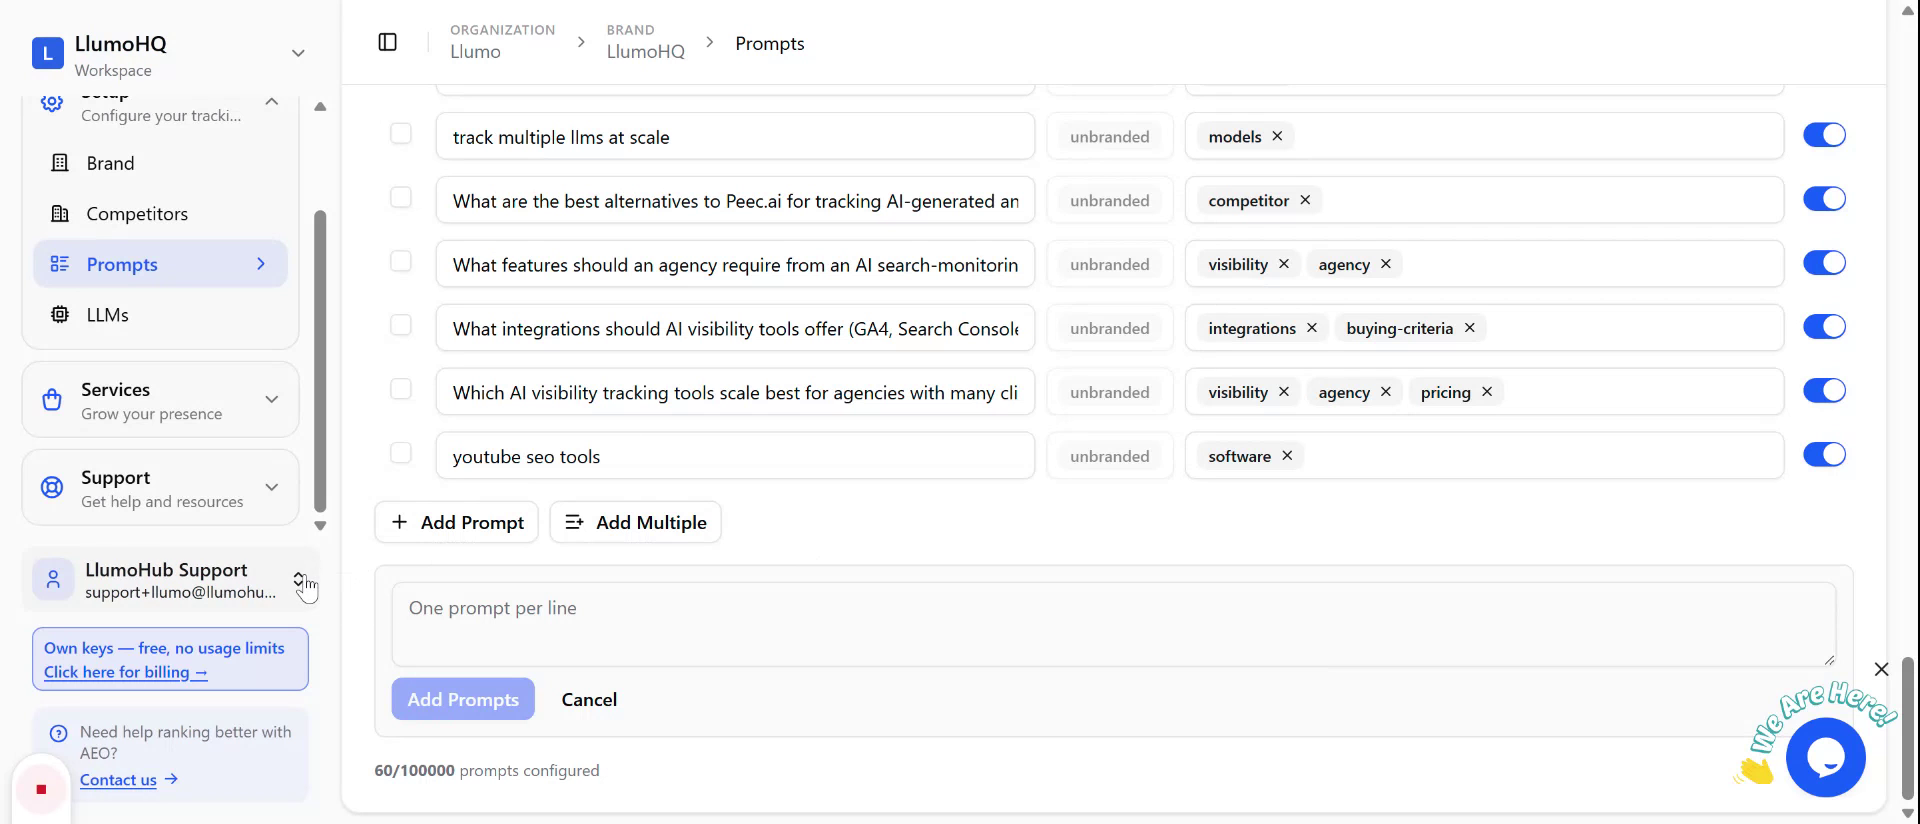
In the prompt configuration area, use the input field provided to paste all of your prompts at once.
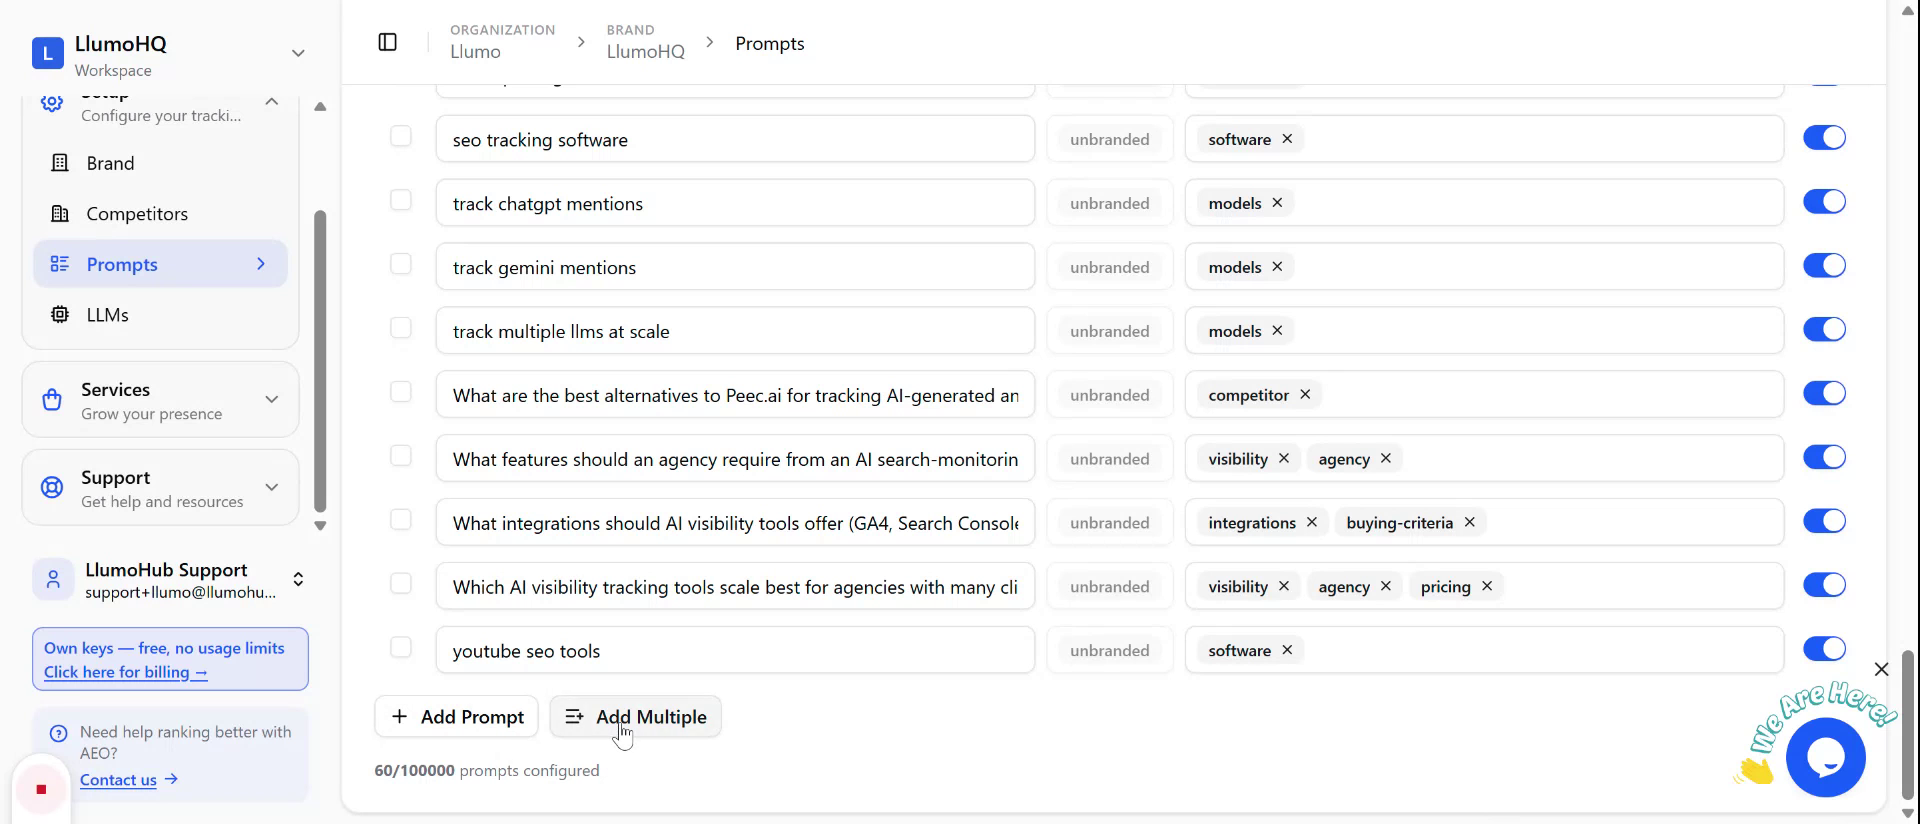
Review the pasted prompts, adjust context and tags where necessary, and save your changes.
Step 3: Start Creating a New Brand
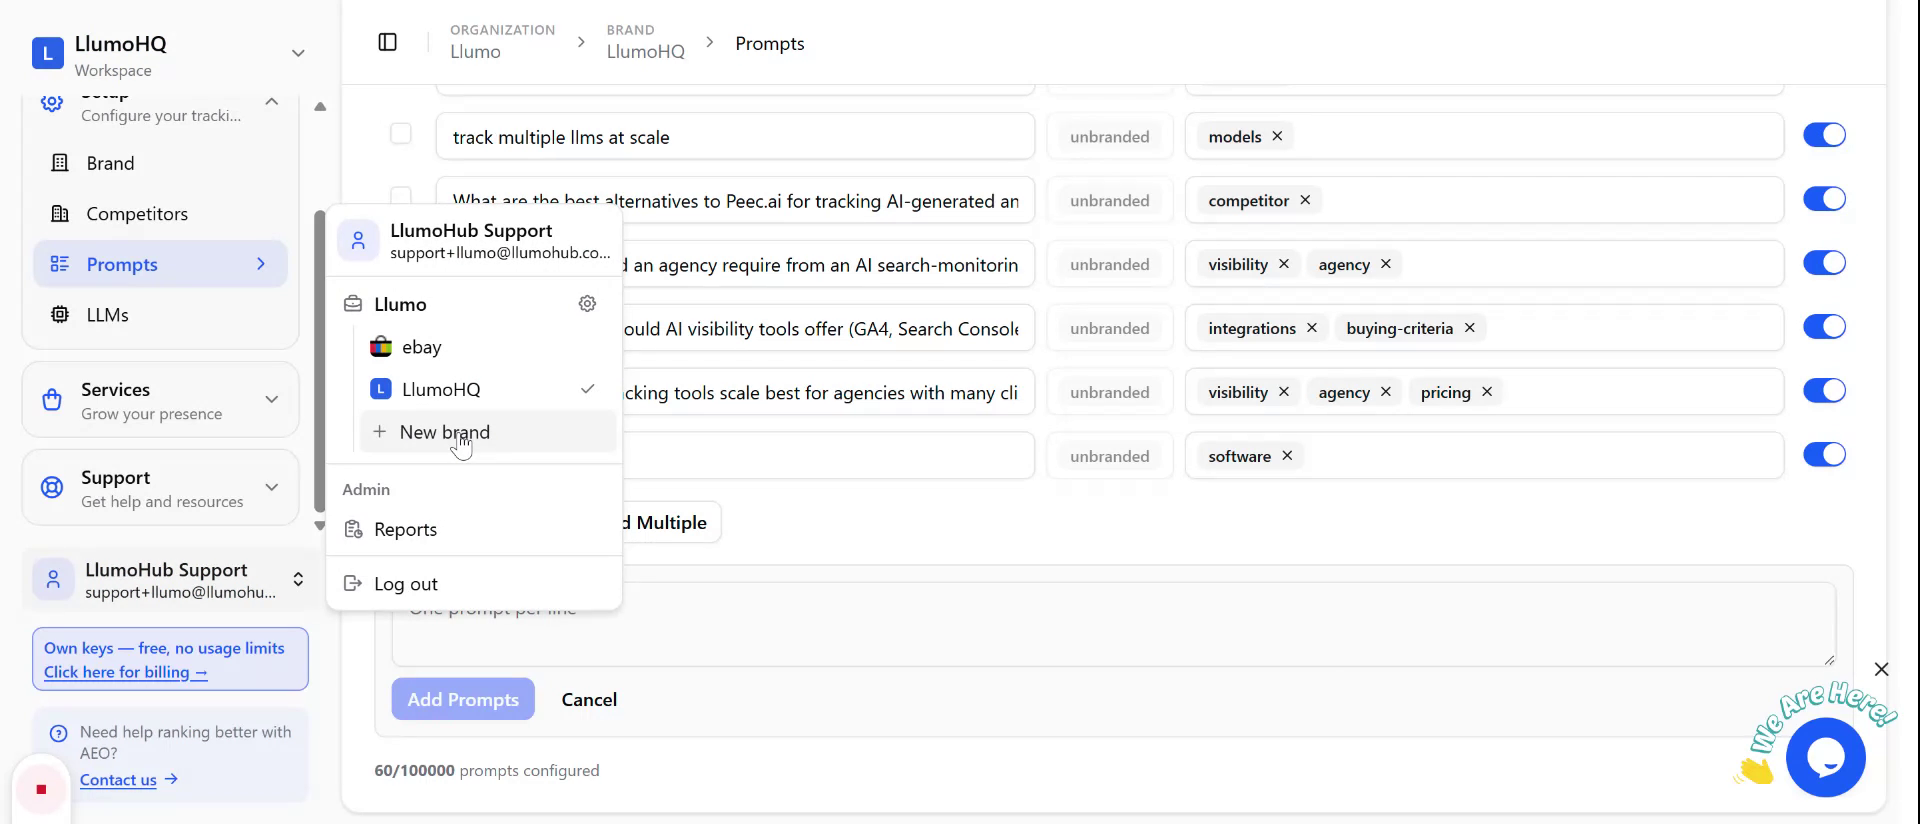
Alternatively, you can configure prompts when adding a new brand. Begin by selecting the option to add a new brand.
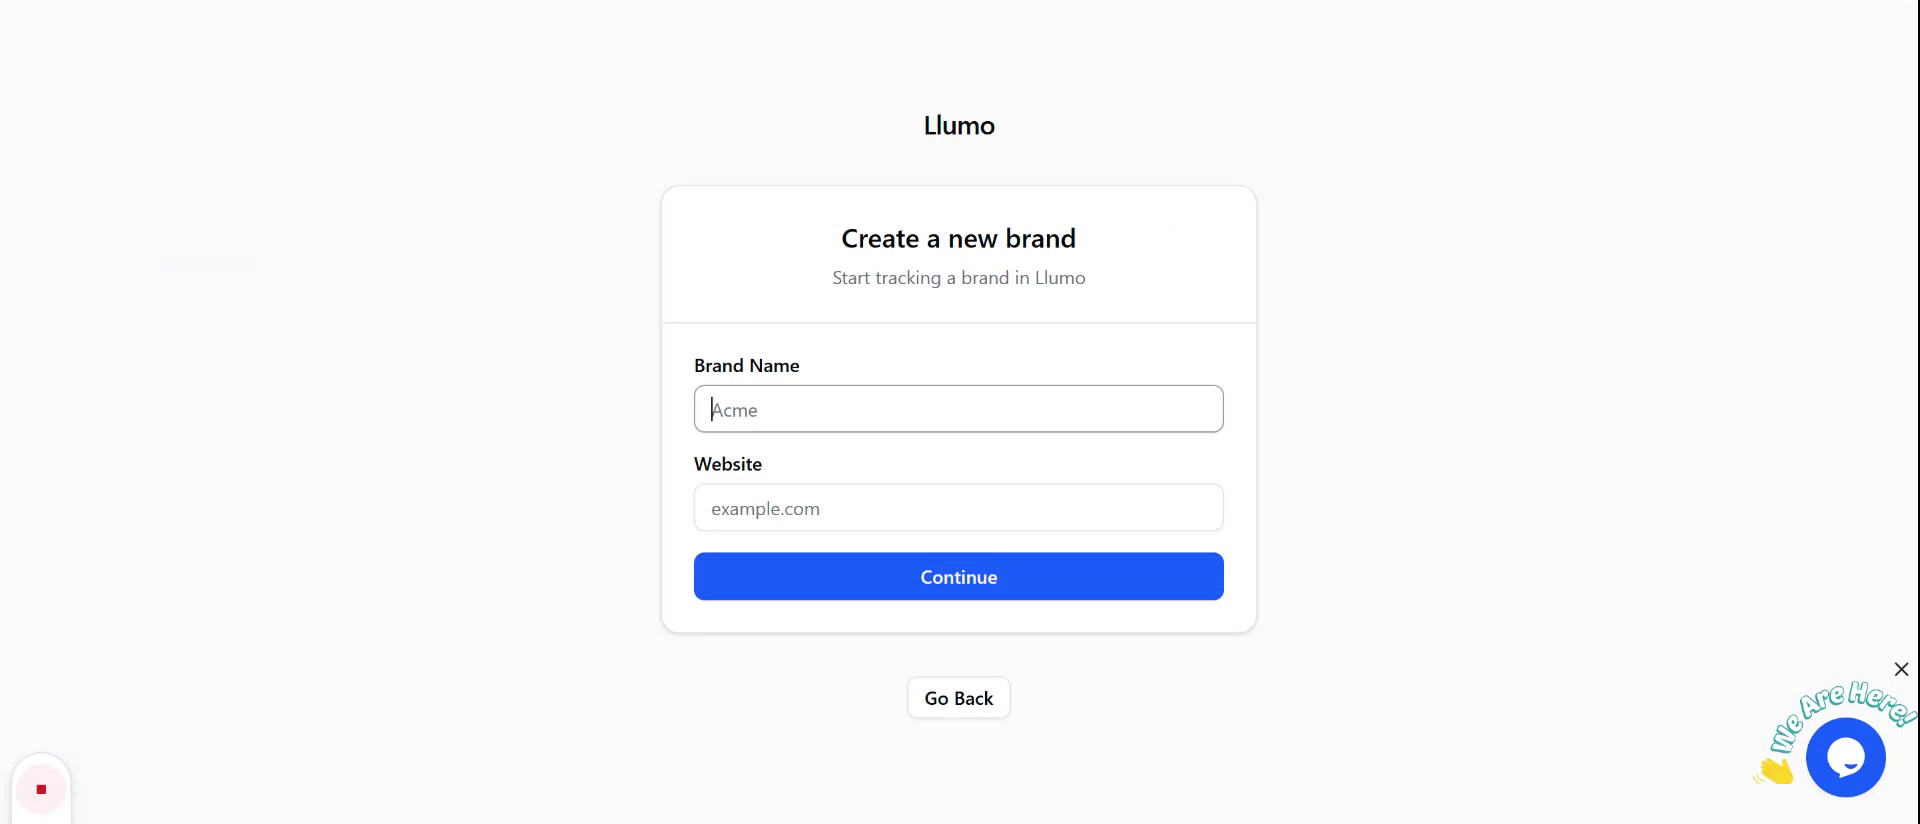
Enter the brand name and associated website. For example, type “Amazon” as the brand name.
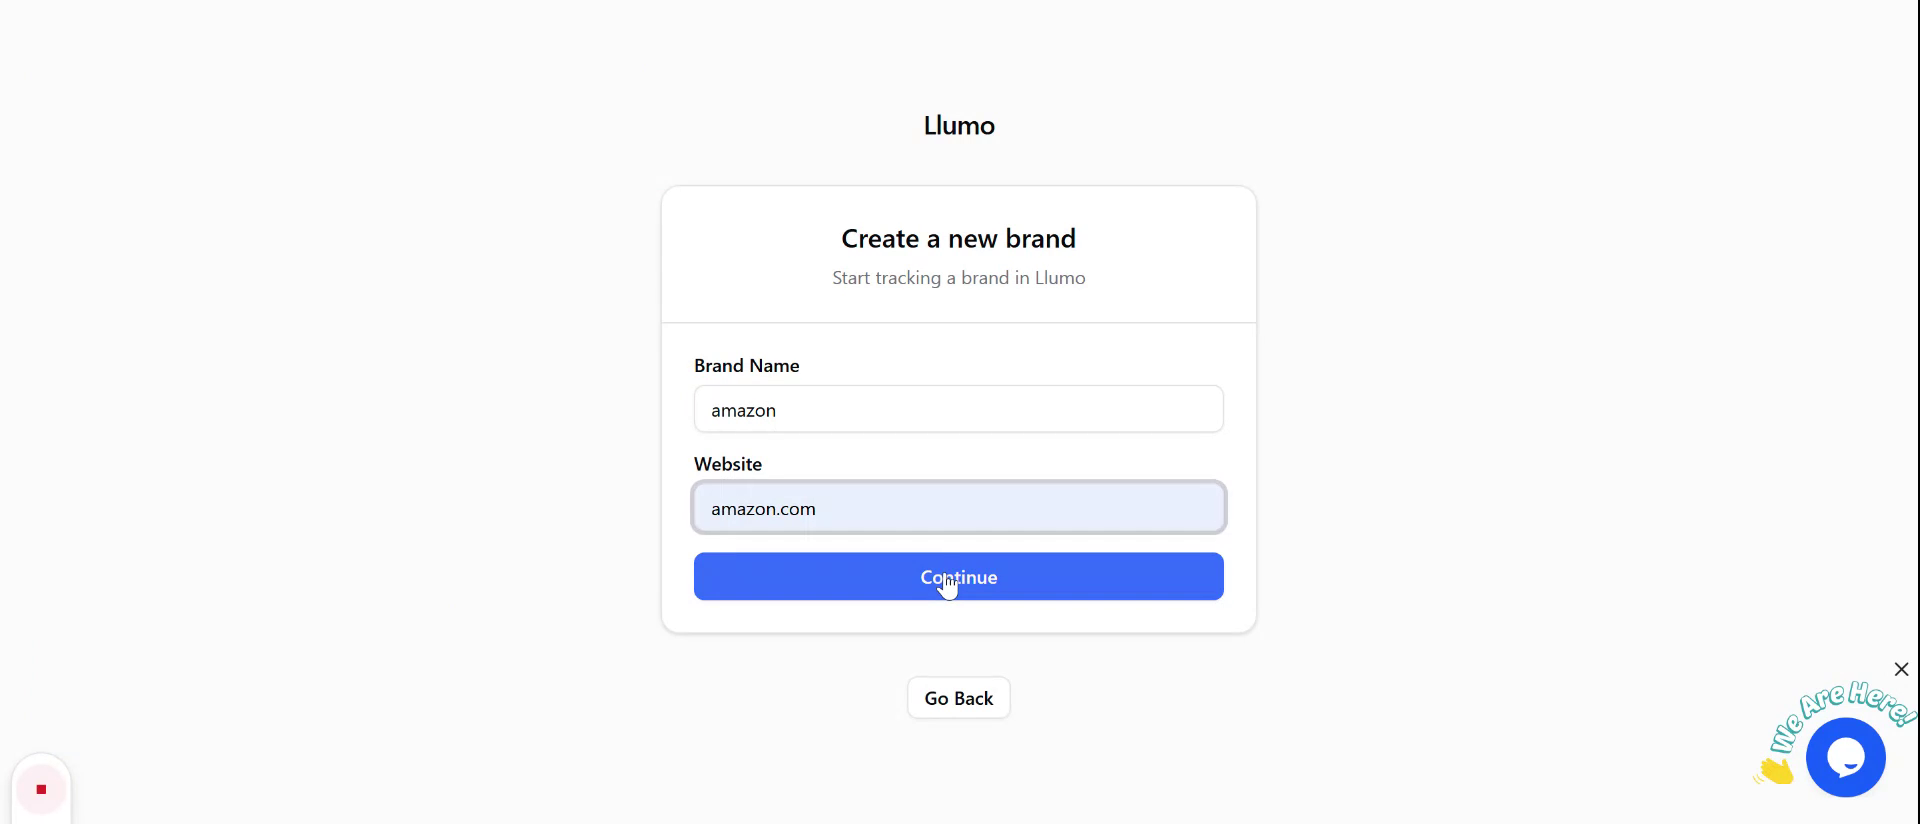
Then enter “amazon.com” as the website URL.
Create the new brand by confirming or clicking the button to create the brand.
Once the brand is created, click Analyze. The system will automatically generate all relevant prompts for that brand based on the analysis.